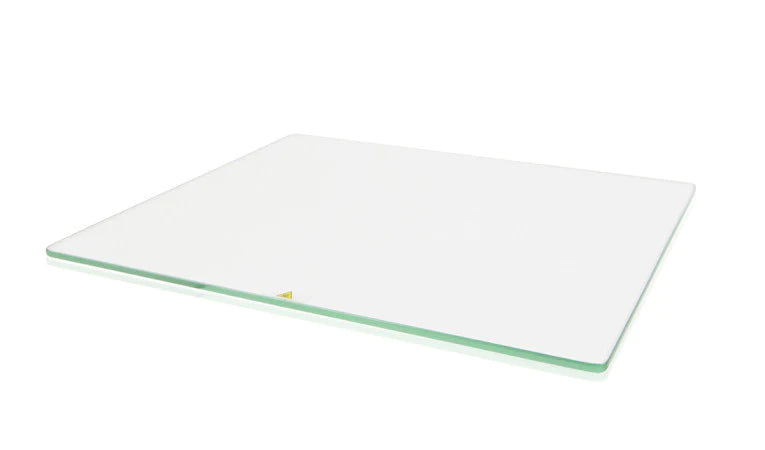
For 3D printing enthusiasts and professionals alike, the quality of your print bed is crucial for achieving precise and reliable results. The UltiMaker Print Table Glass is designed to provide a flat, stable surface that ensures your prints adhere properly and come out perfectly every time.
Upgrading to the UltiMaker Print Table Glass UM3/UM2+ Assembled is a smart investment for anyone looking to enhance their 3D printing experience. With its perfect compatibility, superior print quality, and durable construction, this glass plate ensures your prints are always of the highest standard. Keep your 3D printer performing at its best with the Ultimaker Print Table Glass UM3/UM2+ Assembled.
Why Choose Print Table Glass?
-
Perfect Compatibility: This print table glass is specifically designed for use with UltiMaker 2, UltiMaker 2+, UltiMaker 2+ Connect, UltiMaker 3, and UltiMaker S3 printers. Its precise fit ensures seamless integration with your 3D printer, providing a hassle-free upgrade or replacement.
-
Superior Print Quality: The flat and smooth surface of the UltiMaker Print Table Glass UM3/UM2+ Assembled ensures excellent adhesion of your 3D prints, reducing the risk of warping and improving the overall quality of your prints. This is essential for achieving high-resolution and detailed prints.
-
Durability and Longevity: Made from high-quality glass, this print table is built to withstand the rigors of continuous 3D printing. It is resistant to scratches and thermal stress, ensuring a long-lasting and reliable print surface.
-
Easy Maintenance: Cleaning and maintaining the UltiMaker Print Table Glass UM3/UM2+ Assembled is straightforward. Simply wipe it down with a damp cloth to remove any residue or debris, ensuring a clean surface for your next print.
How to Install Print Table Glass
-
Turn Off the Printer: Ensure your 3D printer is turned off and unplugged before starting the installation process.
-
Remove the Old Print Bed: Carefully remove the existing print bed from your UltiMaker Printer.
-
Install the New Glass Plate: Place the UltiMaker Print Table Glass onto the print bed platform, ensuring it is properly aligned.
-
Secure the Glass Plate: Use the provided clips or fasteners to secure the glass plate in place.